OBS Streaming Software: Features, Setup & Settings
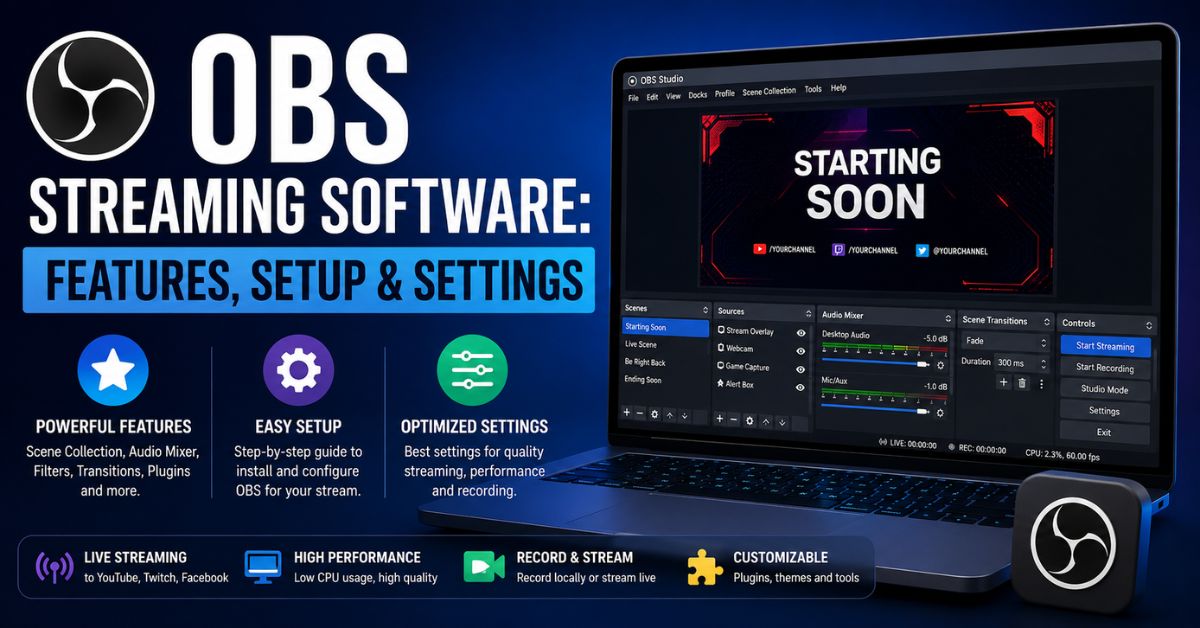
OBS Streaming Software is one of the most popular solutions for recording video and broadcasting live content from a computer. Whether you want to stream gameplay, teach an online class, record a tutorial, host an interview, or produce a professional presentation, OBS Studio gives you extensive control over what viewers see and hear. Better still, its core functionality is completely free, with no mandatory subscription required.
The main appeal of OBS streaming software is flexibility. Instead of simply turning on a webcam and broadcasting, you can combine cameras, games, browser windows, microphones, graphics, screen captures, and other sources into customized scenes. OBS Studio is officially available for Windows, macOS, and Linux, while its open-source architecture also supports a large ecosystem of plugins and scripts.
What Is OBS Streaming Software?
OBS Studio, short for Open Broadcaster Software Studio, is a free and open-source application designed for real-time video recording and live streaming. It captures video and audio from multiple sources, combines those sources into scenes, and sends the finished production to a streaming service or saves it as a local recording. There are no built-in recording time limits or required subscriptions for using the core application.
The software works particularly well for creators who need more control than a simple browser-based streaming interface provides. Gamers can capture gameplay alongside a webcam. Educators can combine presentation slides with a microphone and camera. Businesses can produce webinars, demonstrations, or presentations. You can also use OBS solely as screen-recording software without broadcasting anything publicly.
Common uses include:
- YouTube live streams
- Twitch broadcasts
- Gaming recordings
- Screen tutorials
- Online classes
- Webinars
- Podcasts with video
- Product demonstrations
- Presentation recordings
- Multi-camera productions
Key Features of OBS Studio
One reason OBS remains popular is its scene-based production system. A scene acts like a complete visual layout containing several individual sources. For example, a gaming scene might contain Game Capture, a webcam, an overlay, alerts, and text. You can then create another scene for breaks or introductions and switch between them without rebuilding the entire production each time.
OBS also includes an audio mixer with individual controls for connected audio sources. Filters can help manage microphone sound using tools such as noise suppression, gain, and noise gates. Beyond the built-in features, OBS provides APIs, plugins, and scripting support that allow creators and developers to expand the software for specialized streaming workflows.
Useful OBS features include:
- Unlimited customizable scenes
- Display and window capture
- Game Capture
- Webcam and capture-card support
- Browser sources
- Images and text overlays
- Scene transitions
- Per-source audio controls
- Noise suppression and gain filters
- Hotkeys
- Studio Mode
- Multiview monitoring
- Plugins and scripts
OBS Streaming Software vs Basic Streaming Tools
OBS streaming software is especially useful when a production requires several visual or audio elements. A basic platform streaming tool may be sufficient when you only need a webcam and microphone. OBS becomes more valuable when you want branded layouts, multiple scenes, screen sharing, gameplay capture, separate audio sources, local recordings, transitions, or advanced encoder settings.
There is a learning curve, however. Someone conducting a quick casual broadcast may find a platform’s built-in live interface easier. OBS rewards users who spend time learning scenes, sources, audio routing, output settings, and encoding. Once configured properly, those controls can produce a far more flexible workflow for recurring streams and recordings.
| Feature | OBS Studio | Typical Basic Live Tool |
|---|---|---|
| Multiple scenes | Yes | Often limited |
| Screen capture | Yes | Usually |
| Game capture | Yes | Often limited |
| Local recording | Yes | Varies |
| Audio filters | Extensive | Usually basic |
| Custom overlays | Yes | Limited |
| Plugins | Yes | Rare |
| Encoder control | Extensive | Usually automatic |
| Cost | Free | Usually free or plan-dependent |
| Learning curve | Moderate | Low |
Best OBS Settings for Beginners
New users should usually start with the Auto-Configuration Wizard instead of copying advanced settings from another streamer. The wizard considers the computer’s hardware, what you plan to do with OBS, and network conditions when streaming. It can be opened again through Tools → Auto-Configuration Wizard if your hardware or streaming requirements change later.
After the automatic setup, you can fine-tune individual settings according to your content. A fast-action gaming stream may benefit from 60 FPS, while tutorials, presentations, interviews, and many webcam broadcasts can work comfortably at 30 FPS. Likewise, reducing the output resolution can lower bandwidth and encoding demands when a computer or internet connection struggles with 1080p streaming.
| Setting | Beginner Starting Point | Why It Matters |
|---|---|---|
| Base Resolution | Match your main canvas/display | Keeps source sizing predictable |
| Output Resolution | 1920×1080 or 1280×720 | Controls stream resolution |
| Frame Rate | 30 or 60 FPS | Affects motion smoothness |
| Streaming Bitrate | Platform/network dependent | Influences quality and bandwidth |
| Encoder | Hardware encoder when suitable | Can reduce CPU encoding load |
| Recording Quality | High Quality preset | Simple starting point |
| Recording Format | Hybrid MP4/MOV where available | Improves crash resilience |
For current OBS releases, Hybrid MP4 on Windows/Linux and Hybrid MOV on macOS are designed to combine broad editing compatibility with better protection against interrupted recordings. Ordinary MP4 or MOV files traditionally require finalization, which can create problems if recording stops unexpectedly.
How to Set Up OBS Studio for Streaming
Setting up your first broadcast becomes much easier when you think of OBS in layers. Your scene is the finished layout, while sources are the individual components inside that layout. Start simple. Build one working scene before adding animated overlays, alerts, multiple cameras, or complicated audio routing. This approach makes troubleshooting considerably easier when something does not appear or sound as expected.
You will also need to connect OBS to your chosen streaming destination. Services such as YouTube and Twitch can be configured through the Stream settings, while supported workflows may also use a server URL and stream key or Custom RTMP configuration. Treat a stream key like a password because anyone who obtains it may be able to broadcast through your channel.
A basic setup workflow looks like this:
- Install OBS Studio from the official OBS Project website.
- Run the Auto-Configuration Wizard.
- Create or select a scene.
- Click + under Sources.
- Add Display Capture, Window Capture, or Game Capture.
- Add your webcam if required.
- Confirm your microphone in the Audio Mixer.
- Configure your streaming service.
- Select an appropriate resolution and frame rate.
- Make a short test recording.
- Check video, microphone, desktop audio, and sync.
- Click Start Streaming when everything works correctly.
Tips for Better OBS Streaming and Recording
Audio deserves as much attention as video quality. Viewers may tolerate a slightly softer image, but distorted, extremely quiet, or distracting audio can make a stream difficult to follow. Keep your microphone clearly above background audio without allowing it to clip. OBS filters such as noise suppression, noise gate, and gain can help, although aggressive filtering can make a voice sound unnatural.
Performance problems are often caused by asking the computer or internet connection to handle more than it can comfortably process. If your stream drops frames or OBS reports encoding problems, consider reducing output resolution, lowering frame rate, adjusting bitrate, or using an appropriate hardware encoder. Close unnecessary applications during demanding broadcasts and always test complicated scenes before an important live event.
Conclusion
OBS Studio provides an unusually powerful collection of recording and broadcasting features without requiring creators to pay for the core software. Scenes, multiple capture sources, audio filters, transitions, hardware encoding options, recordings, and plugins make it useful for everything from basic tutorials to sophisticated live productions. Beginners do not need to understand every setting immediately; the Auto-Configuration Wizard offers a practical place to start.
For most new users, the best approach is to keep the first configuration simple, test the audio and video locally, and improve the production one feature at a time. When configured around your computer, internet connection, and streaming platform, OBS streaming software can become a reliable long-term tool for live video, gameplay, education, tutorials, and professional content creat